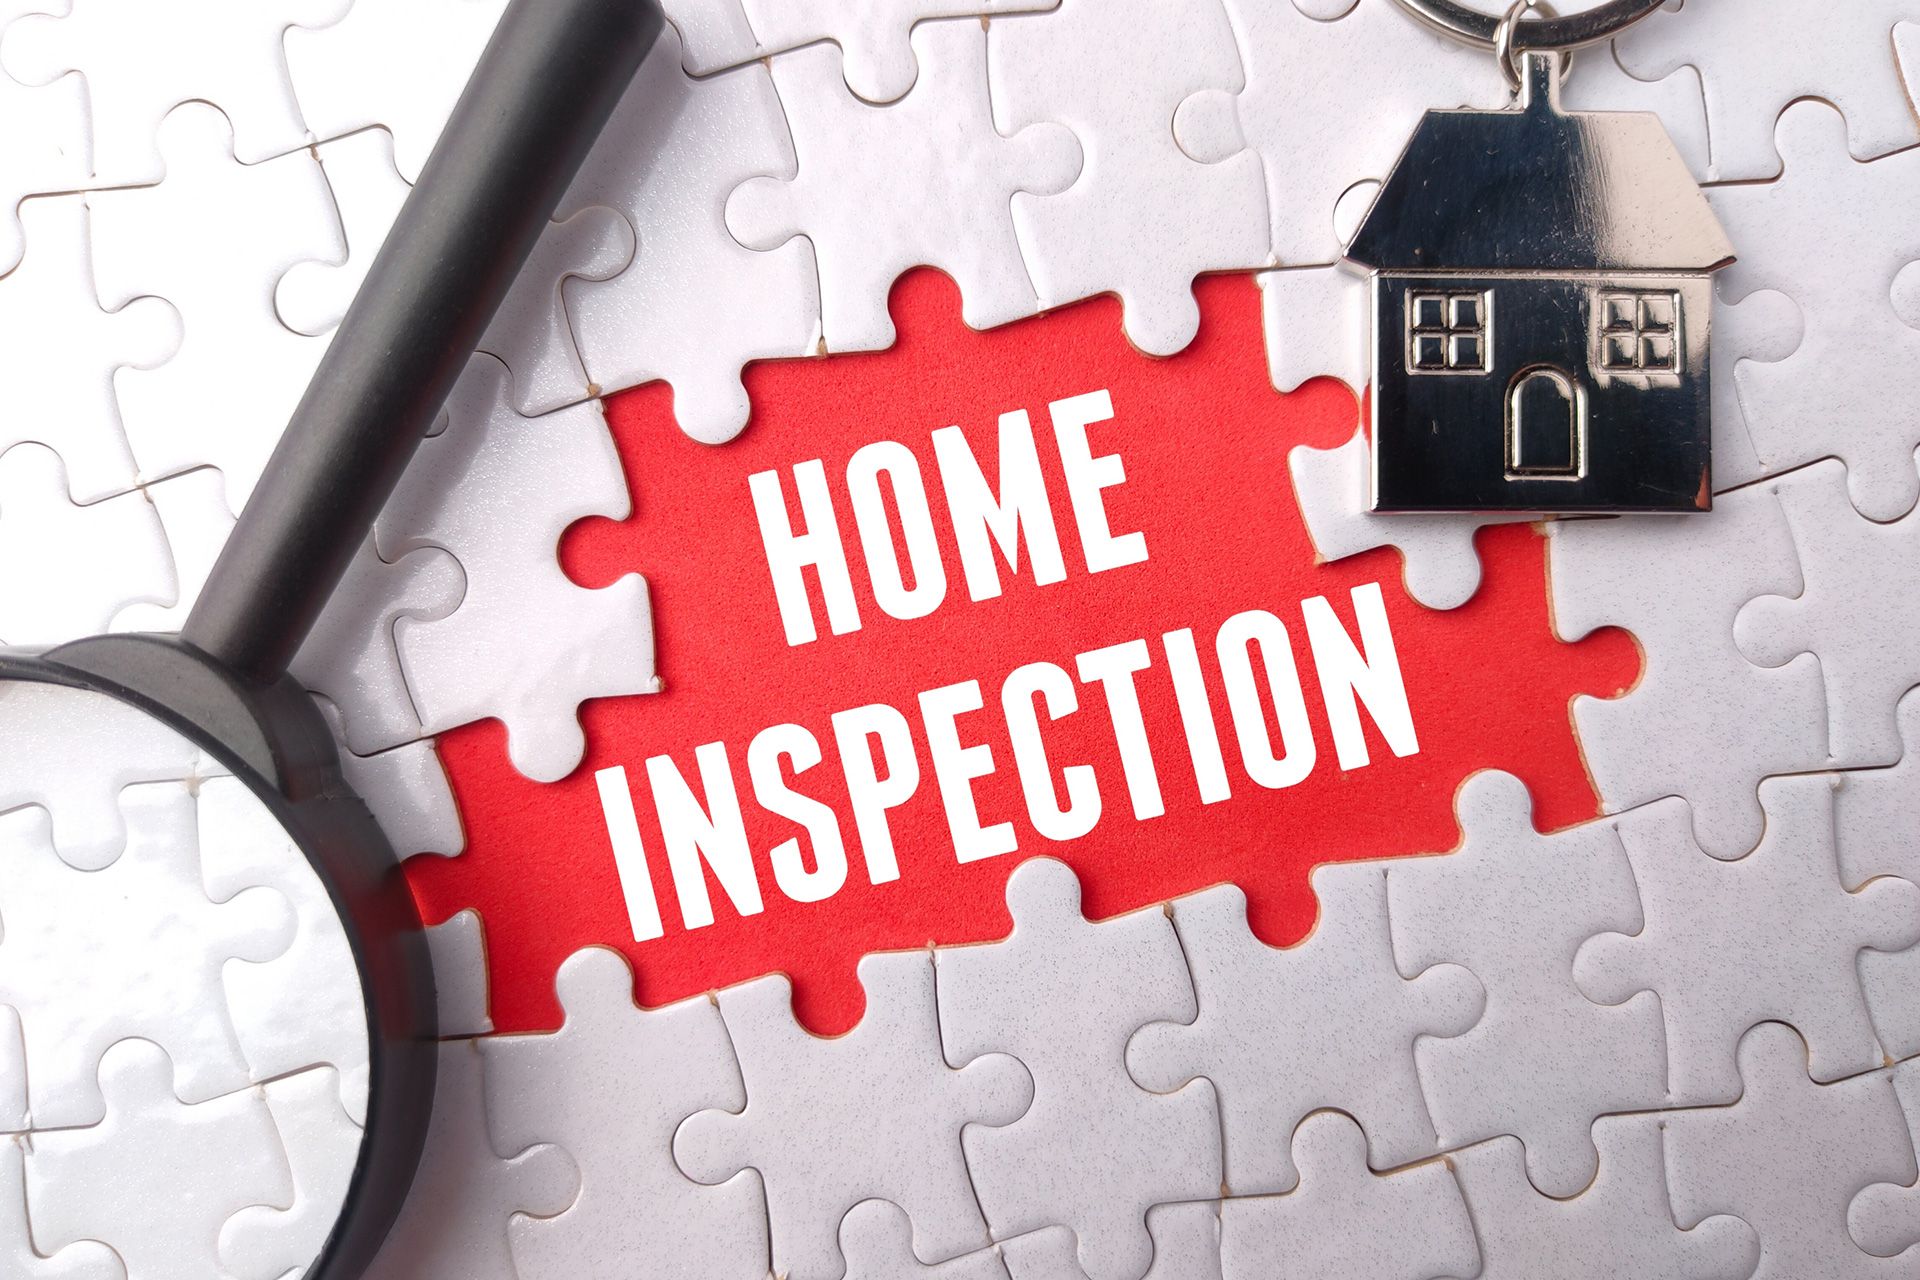
Preparing Your Home for a Smooth Inspection: A Complete Homeowner’s Guide
A home inspection is a key step in any real estate transaction, whether you’re selling your home or buying a new one. It can influence negotiations, impact closing timelines, and even determine whether a deal moves forward. The good news is that a smooth inspection is often the result of simple preparation, not major renovations.
By taking a few practical steps ahead of time, you can help ensure the inspection process goes quickly, accurately, and without unnecessary stress. This guide walks you through exactly how to prepare your home for a successful inspection and what inspectors typically look for.
Why Home Inspection Preparation Matters
A home inspection is designed to evaluate the condition of a property, not to “pass or fail” it. However, the way a home is presented can still impact the inspector’s ability to do a thorough job.
Proper preparation helps:
- Prevent delays during the inspection
- Reduce follow-up questions or confusion
- Avoid misinterpretation of minor issues
- Create a smoother experience for buyers and sellers
- Ensure all systems are accessible and properly evaluated
Think of it as setting the stage for clarity. The easier it is for an inspector to access key areas, the more accurate and efficient the report will be.
Step 1: Ensure Easy Access to All Areas
One of the most important things you can do is make sure the inspector can access every major system in the home.
Key areas to unlock or clear:
- Electrical panel
- Furnace and HVAC systems
- Water heater
- Attic access points
- Crawl spaces
- Basement utility areas
- Garage and storage rooms
Move furniture, boxes, or stored items that may block these areas. Inspectors need a clear path to safely and fully evaluate systems.
Step 2: Replace Burned-Out Bulbs and Check Fixtures
It’s common for inspectors to assume a burned-out light bulb is a faulty fixture. This can create confusion in the report.
Before the inspection:
- Replace all non-working bulbs
- Test light switches in every room
- Ensure ceiling fans and fixtures are operational
- Check exterior lighting as well
Small fixes like these help prevent unnecessary repair notes in the report.
Step 3: Test Appliances and Systems
While inspectors will evaluate built-in appliances and home systems, it helps if everything is already in working condition.
Make sure to:
- Run the dishwasher through a cycle
- Test ovens, stovetops, and range hoods
- Check washing machine and dryer operation
- Ensure HVAC system is heating and cooling properly
- Confirm water heater is functioning
If something is known to be broken, it’s better to disclose it upfront rather than have it discovered unexpectedly.
Step 4: Clean and Declutter Key Areas
A clean home isn’t required for inspection, but it makes a big difference in accessibility and visibility.
Focus on:
- Clearing kitchen counters
- Organizing garage and storage spaces
- Removing items blocking vents or utilities
- Cleaning around plumbing fixtures
- Ensuring crawl spaces and basements are not overly cluttered
Inspectors need to see structural elements, not just belongings in the way.
Step 5: Check for Leaks and Minor Issues
You don’t need to perform repairs, but addressing obvious minor issues can help reduce red flags.
Take time to:
- Look under sinks for leaks
- Check toilets for running water
- Inspect ceilings for visible stains
- Ensure faucets are not dripping
- Verify windows and doors open and close properly
Small maintenance issues can make a home appear better cared for overall.
Step 6: Make Sure Utilities Are Turned On
This is one of the most commonly overlooked steps.
Inspectors must test systems that require power, gas, and water.
Ensure:
- Electricity is on
- Water is running
- Gas service is active (if applicable)
- Pilot lights are functioning
Without utilities, inspectors may not be able to fully evaluate systems, which can delay the report or require a return visit.
Step 7: Provide Safe Access to the Exterior
Exterior inspection is just as important as interior evaluation.
Prepare by:
- Unlocking gates
- Clearing pathways around the home
- Moving vehicles away from the driveway and garage
- Trimming overgrown shrubs near the house
- Ensuring roof access is possible if needed
Inspectors will examine roofing, siding, drainage, and foundation areas, so visibility is essential.
Step 8: Secure Pets During the Inspection
Even friendly pets can create distractions or safety concerns.
Before the inspection:
- Secure pets in a separate room or crate
- Inform the inspector about pets in the home
- Remove pet-related obstacles like food bowls or toys
This helps the inspection proceed safely and without interruptions.
Step 9: Replace or Clean HVAC Filters
A dirty HVAC filter doesn’t just affect air quality, it can also signal neglect to potential buyers.
Before inspection:
- Replace air filters
- Clean visible vents and returns
- Ensure thermostat is working properly
This simple step can improve system performance and inspection impressions.
Step 10: Gather Important Documentation
While not required, providing documentation can be helpful.
Consider having ready:
- Maintenance records
- Repair invoices
- Warranty documents for appliances
- Permits for renovations or additions
This helps clarify upgrades and system history.
What Inspectors Typically Focus On
Understanding what inspectors evaluate can help you better prepare.
They generally assess:
- Structural components (foundation, framing)
- Roof condition
- Electrical systems
- Plumbing systems
- HVAC performance
- Attic and insulation
- Basement or crawl space condition
- Doors, windows, and flooring
- Exterior drainage and grading
They are not looking for cosmetic flaws, but rather safety, functionality, and system performance.
Common Mistakes Homeowners Make Before Inspection
Avoiding a few common mistakes can make a big difference:
1. Blocking access to utilities
Stored items often prevent proper inspection.
2. Leaving known issues undisclosed
Transparency avoids surprises later in the report.
3. Turning off utilities
Inspectors need full system functionality.
4. Ignoring small maintenance problems
Minor issues can create unnecessary concern.
5. Not securing pets
This can delay or disrupt the process.
Final Tips for a Stress-Free Inspection
- Stay calm, no home is perfect
- Focus on accessibility, not perfection
- Don’t attempt major repairs right before inspection
- Allow the inspector space to work independently
- Be prepared for follow-up questions or clarifications
Remember, the goal is not to “pass” an inspection but to understand the true condition of the property.
Schedule your home inspection today for a smooth, stress-free evaluation and complete peace of mind.
FAQs
Do I need to clean my house before a home inspection?
You don’t need a deep clean, but decluttering and basic tidying help inspectors access key areas more easily.
Should I be present during the inspection?
It’s optional. Many homeowners prefer to leave the inspector to work independently, while others attend the final walkthrough for questions.
What happens if the inspector finds problems?
Most homes will have some issues. The report helps buyers and sellers understand what needs attention or negotiation.
Can I fix things right before the inspection?
Minor fixes are fine, but major repairs should not be rushed. Transparency is more important than last-minute changes.
How long does a home inspection take?
Most inspections take 2–4 hours depending on the size and condition of the home.
Disclaimer: The information on this website and blog is for general informational purposes only and is not professional advice. We make no guarantees of accuracy or completeness. We disclaim all liability for errors, omissions, or reliance on this content. Always consult a qualified professional for specific guidance.
Search Blog
Recent Posts